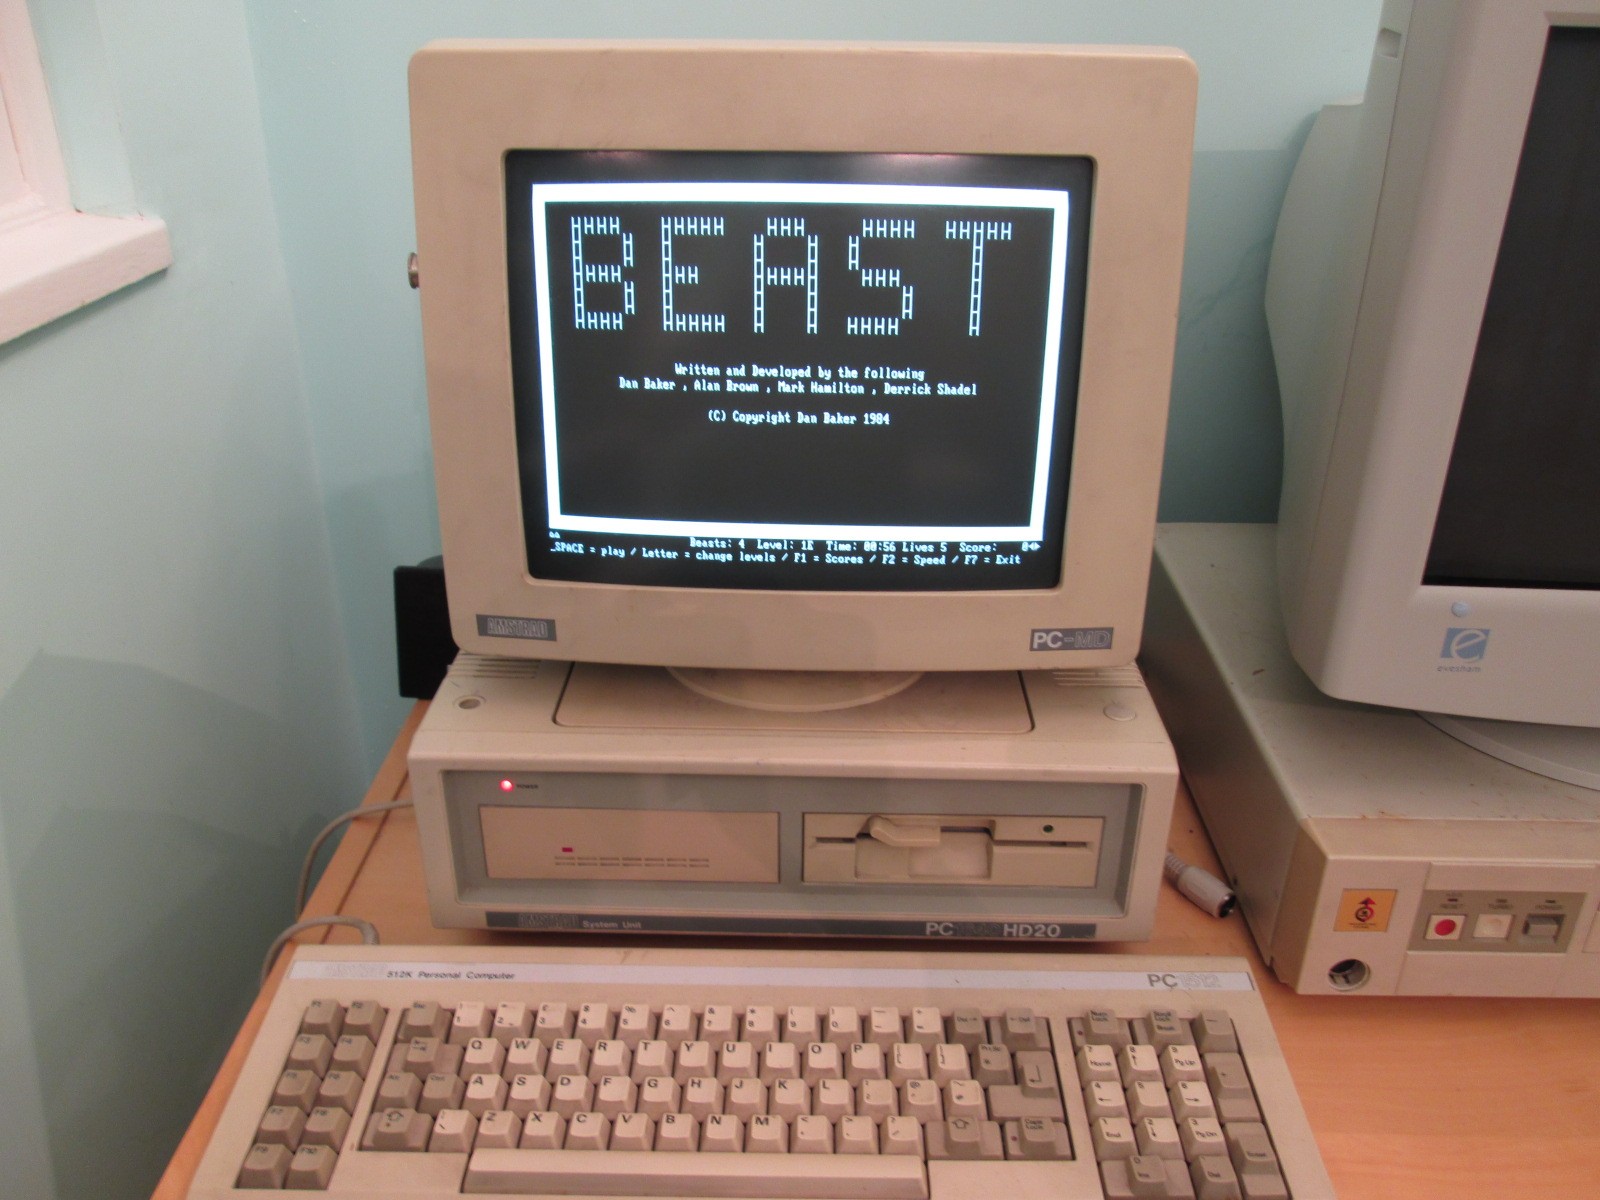
I've had an Amstrad PC1640 for a while now but have barely used it. One of the reasons for this was that the monitor alignment was messed up. The picture was all the way over to the left and titled.
Here's what it looked like before:

I found the service manual, which was pretty vague, but points you in the right direction at least.
First things first - the mandatory CRT safety bit as you need to discharge it before working on these things. I made my own discharge tool using some thick wire with a crocodile clip on one end and a pointer with a 470 ohm 5W resistor on the other. Connect the crocodile clip to a ground point like the metal frame of the monitor and (carefully) stick the pointer under the anode cap (1 - next picture). If the monitor has been used recently you'll likely see a spark.

Now, there are a number of different things you can do to affect the picture. There are 4 magnets (2) (called the er...4-pole magnets) which you can unscrew and slide left and right. These adjust the corners of the picture. I needed to adjust the tilt of the picture which was achieved by turning the whole thing (3).

To move the picture left and right you use the centring magnets (C). On this particular monitor it's these two metal rings with tabs on. Can also be seen in bottom right of the above picture. Again, just turn them.

There are also a couple of vertical controls on the circuit board (V) and a coil (L403) which is supposed to do something to do horizontal image (I couldn't tell).

I stuck some tape on the screen where the original screen position was so I could see difference the adjustments were making. I used the GEM startup screen because the image lets you see all the corners.

...looking good.

....and back together again.

Index | Mods


